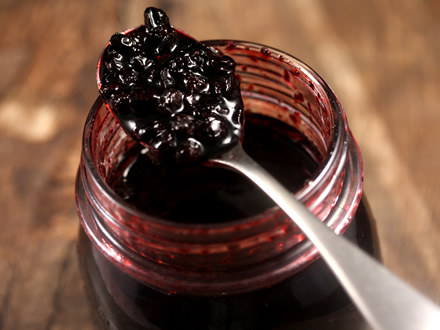
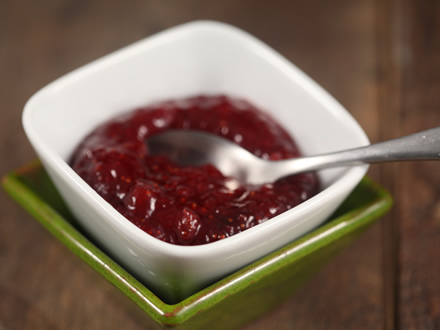
Strawberry and Red Currant Jam
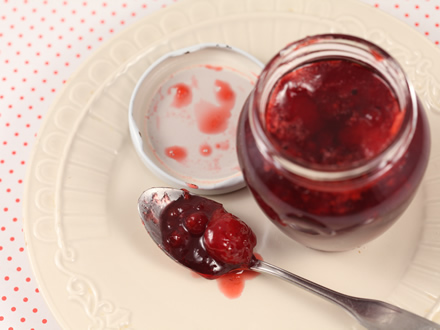
I haven't overlooked those of you who wrote to me that you appreciate jams in more unusual combinations. So surprise, surprise at the end of strawberry season! I added red currants to the classic strawberry jam. They bring extra tartness but also pectin (the jam will set faster).
Ingredients
650 g strawberries (weighed after sorting and cleaning)
650 g red currants (weighed as clusters)
500 g sugar
1/2 lemon
How to prepare strawberry and red currant jam
- Sort the strawberries and remove the stems. I left them whole since they were small, but larger ones can be cut in half. Wash them well.
- Remove the stems from the currants like this: take 2-3 clusters in your hand and run the stems through the tines of a fork. Pull the fork down, over a bowl. The berries will fall into the bowl and only the stems will remain in your hand (see photos 1 and 2). Wash the currants.
Pass the cleaned currants through a food mill to separate the juice from the seeds. I kept a few good tablespoons of whole currants to give the jam texture.
If you don't have a food mill, put water at the bottom of a pot, add the currants (in this case they don't need to be stemmed) and cook covered for about 5 minutes, until the berries soften. Then crush them in a food processor and pass through a sieve. - Put all the fruits and their juice in a bowl, together with the sugar. Mix gently and leave overnight in the refrigerator.
- Wash 2 jars of 300 ml, dry them and put them in the oven heated to 200°C for about 20 minutes to sterilize.
* try to coordinate cooking the jam with sterilizing the jars, because it's important that the jam is put in the hot jars taken directly from the oven - The next day, put the contents of the bowl in a wide pot (30 cm; the wider the pot, the faster the jam cooks).
- Cook on low heat until all the sugar melts. Don't stir. You'll see pink foam on the entire surface and then you'll know the sugar is melted. Also check by running a spoon on the bottom of the pot to make sure.
- At that point you can increase the heat intensity, so that the jam visibly boils. Cook like this for 30 minutes. You'll see there's quite a lot of liquid in the pot, so the jam can boil more strongly without problems, it won't burn or stick to the pot. However, be careful that it doesn't boil so hard that it rises and overflows. The jam makes pink foam on top at first, if there's a lot, skim it off with a spoon.
- In the last 5 minutes of cooking, add the juice from 1/2 lemon.
* at the end also do the cold plate test to be absolutely sure the jam has set: put a small plate in the freezer ahead of time; after 30 minutes of cooking, drop a little jam on the plate and put it in the freezer for a few minutes (during this time turn the heat under the jam to low); if tilting the plate the jam doesn't run, it's ready - Put the hot strawberry jam in the sterilized hot jars, wipe the rim of the jar if it got dirty, put on the lids and tighten them well. Be careful, the hot jam is quite liquid, don't panic, that's fine, it will gel in the jars after cooling... you did do the plate test 😉 Turn the jars upside down (resting on the lid). Let them sit like that for about 20 minutes. The jam has pieces of whole fruit, which tend to rise to the surface while hot. If you cool the jars upside down, the fruits will "rise to the bottom." This way, when you turn the jars right side up, you'll have all the fruits at the bottom of the jar, completely covered by the gelled jam. This way you won't have problems with storage. Cover the still-hot jars with a blanket and let them cool like that overnight (dry steaming).
- Store in a cool place, in a cellar or pantry.
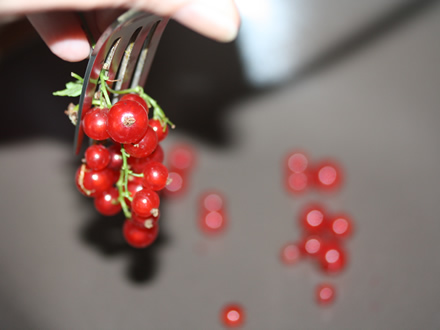
Running fork tines through the stems
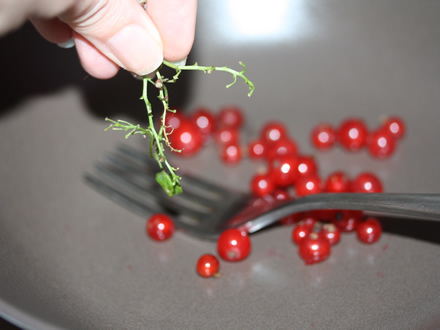
Pulling down...
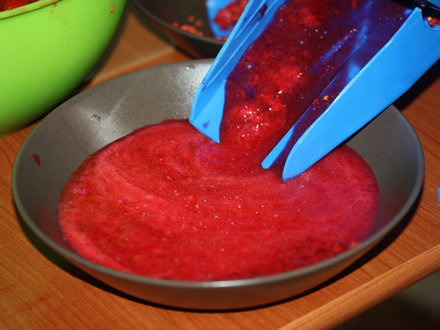
Passing currants through food mill
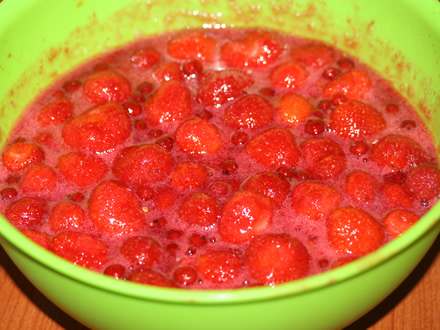
Fruits with sugar refrigerated
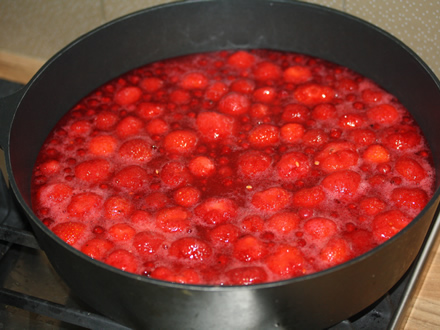
Put to cook
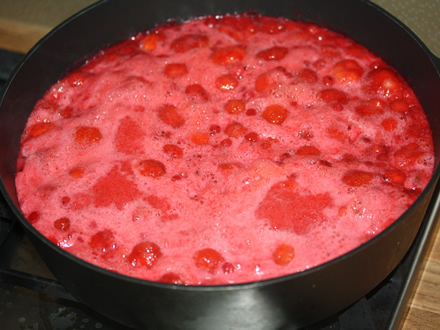
Sugar melted, can increase heat
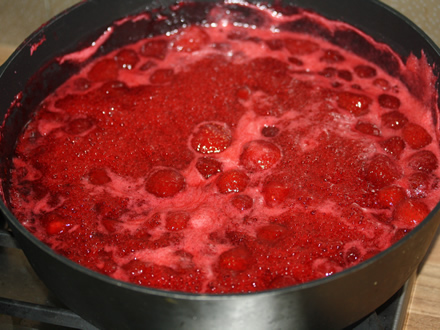
Jam has 5 more minutes to cook
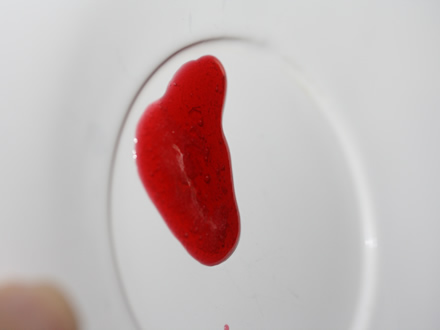
The cold plate test